
Fields of Mistria Coop Guide: Costs and Capacity
Build a Fields of Mistria coop with the right capacity, materials, incubators, and placement plan for chickens, ducks, rabbits, and capybaras.
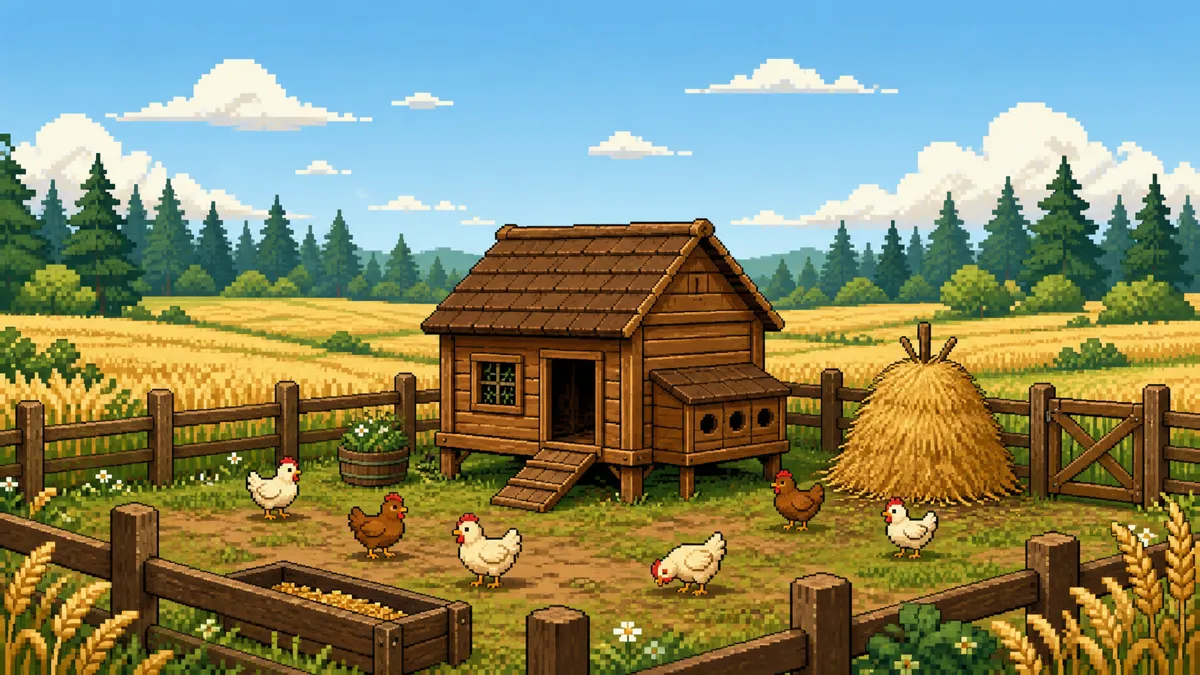
The Fields of Mistria coop is the farm building for chickens, ducks, rabbits, and capybaras. Choosing a coop is not only a ranching purchase: its capacity decides how much room your animal plan has, its location shapes a daily walking route, and its incubators affect how much breeding space is available inside. This guide covers each size, the exact building costs, and the rules to know before moving one.
What a coop can house
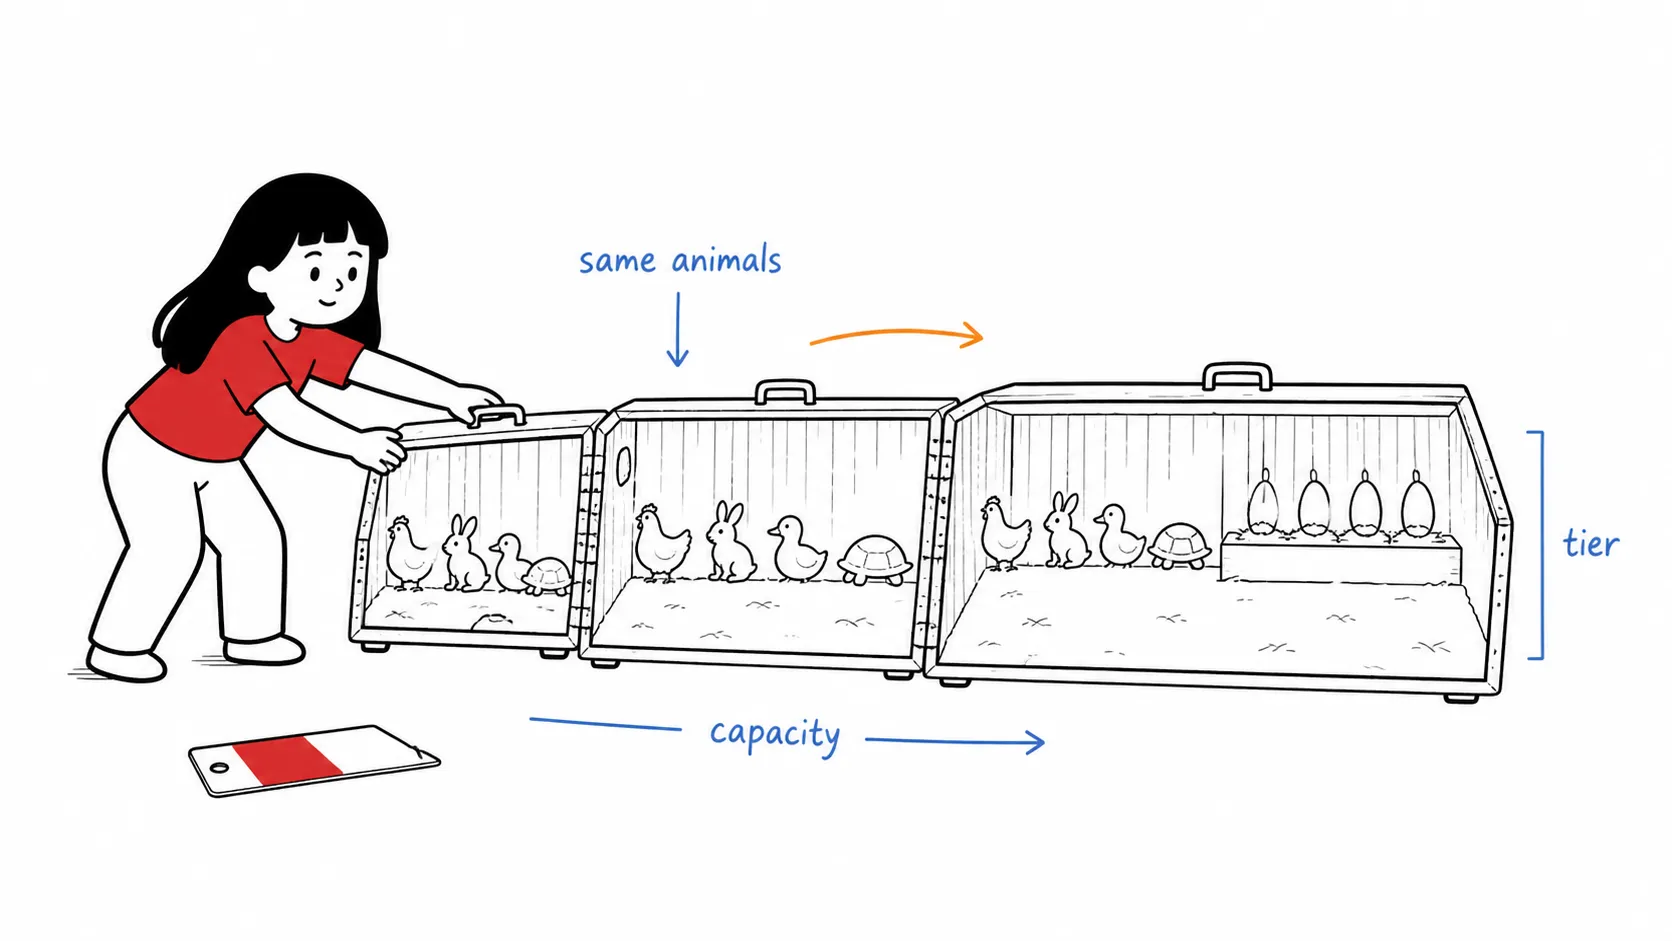
Every available coop size can house the same four animal types: Chicken, Duck, Rabbit, and Capybara. The difference between Small, Medium, and Large is capacity, incubator count, unlock requirement, and construction price—not a separate animal roster.
That makes the first building decision pleasantly straightforward. Pick a Small Coop if four residents fit your near-term plan. Move to Medium when you want space for a broader mix or a growing breeding program, and choose Large when you need the full 12-animal capacity and its extra features. You do not need a different building just because you prefer ducks over chickens or capybaras over rabbits.
Coop blueprints are sold by The Carpenter from the start, but larger sizes are gated by Ranching level. Both red and white blueprint styles exist for each size. Their shared size tier has the same capacity, price, materials, and feature set, so make the color choice for your layout rather than out of concern that one is mechanically better.
Small Coop: a four-animal start
A Small Coop holds 4 animals and includes 1 incubator. Its blueprint costs 1,500t, and building it takes 75 Wood plus 50 Stone. It is available from the start, making it the natural first animal building when you are still deciding how much of the farm to reserve for ranching.
Four spaces are enough for a compact, intentional group. A player who wants a little variety can use all four slots across the valid animal types; a player focused on one species can keep a matching group. The important layout choice is to leave room around the building for the route you will walk every day. Put the coop where it connects naturally to your house, a storage point, and the outdoor animal area instead of isolating it in an ornamental corner.
The single incubator means the Small Coop supports one active hatch at a time. That is not a reason to rush an upgrade, but it is a real constraint if you want to grow the population through breeding. Because the building already costs Wood and Stone, reserve your first stockpile before committing to fences, paths, and decorative materials around it.
Medium Coop: double the capacity
The Medium Coop holds 8 animals, comes with 2 incubators, and unlocks at Ranching level 20. Its blueprint costs 3,000t and its construction materials are 100 Wood and 75 Stone.
This is the right step when the Small Coop’s four slots force a choice between keeping adults, retaining a mix of species, and leaving room for young animals. Doubling capacity is more valuable than it looks because it also doubles the incubator count. You can plan two hatches without making the inside of the coop feel like a constant bottleneck.
Do not treat level 20 as a surprise requirement. If your farm plan depends on eight coop animals, leave a temporary expansion zone next to the Small Coop site or choose a location where the Medium blueprint can be rebuilt without rerouting your whole fence and path network. A simple animal-yard rectangle with one open side for building access is easier to expand than a tightly decorated enclosure.
Large Coop: twelve slots and four incubators
The Large Coop has room for 12 animals, provides 4 incubators, and becomes available at Ranching level 40. It costs 6,000t for the blueprint, plus 125 Wood and 100 Stone to construct. It can also hold an Animal Sprite Statue, an extra feature not listed for the smaller coop sizes.
The Large Coop is the best choice for a mature animal operation, but it should still fit the rest of the farm. Twelve residents can make a long walk feel much longer if the building is placed at the far edge of your map. Put it near the routes you already repeat: leave the farmhouse, collect or manage ranching tasks, then pass by storage or your crafting area without backtracking.
Four incubators give a larger breeding plan enough breathing room. Remember that incubators are for hatchable eggs created through poultry breeding; they are not the same thing as ordinary eggs that animals produce. A hatchable egg takes four days from the point the parents are bred, so plan capacity before starting several breeding cycles. A full coop cannot accept a new resident simply because an incubator was available when breeding began.
Coop costs and capacity at a glance
Rather than planning by price alone, compare each tier as one package. A Small Coop is 1,500t + 75 Wood + 50 Stone for 4 animal slots and 1 incubator. A Medium Coop is 3,000t + 100 Wood + 75 Stone for 8 slots and 2 incubators, after Ranching level 20. A Large Coop is 6,000t + 125 Wood + 100 Stone for 12 slots, 4 incubators, and the Animal Sprite Statue placement feature, after Ranching level 40.
The resource increase from Small to Medium is modest, while the available animals and incubators double. The jump to Large is more of a commitment in both Ranching progression and daily route design. If you are saving toward it, avoid making the Small or Medium coop enclosure so permanent that moving or rebuilding will turn into a frustrating redesign.
How to move a coop safely
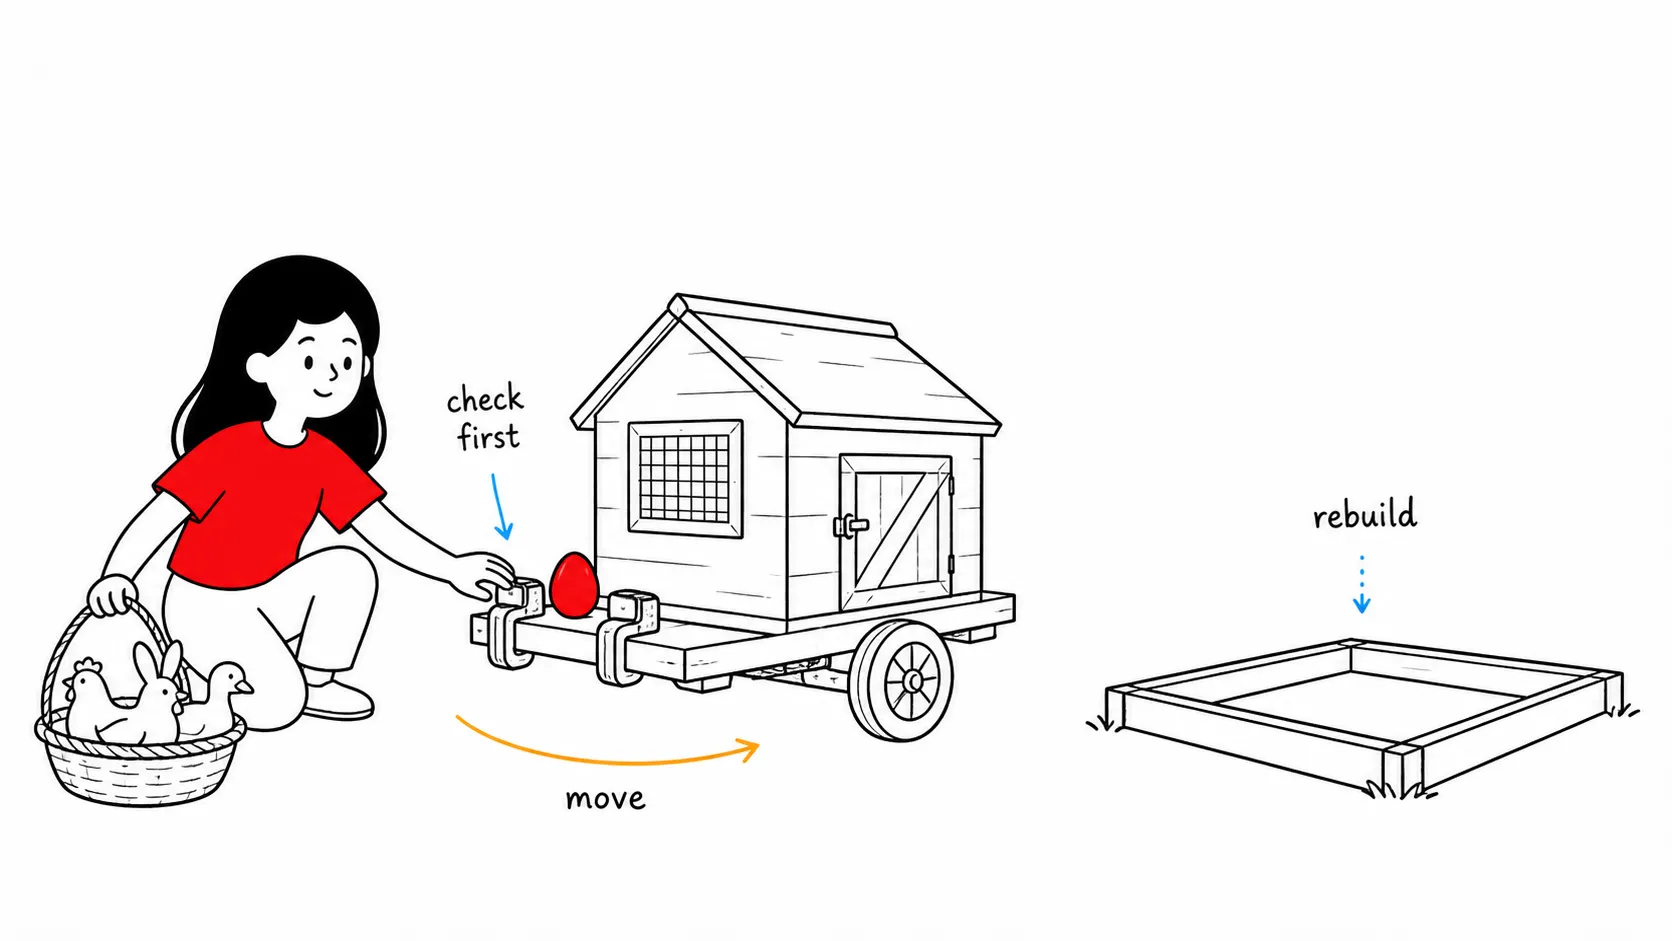
You can move a coop, but it is a two-stage process. Interact with the building and use its menu to remove it. Removal drops the blueprint and the materials used to construct that coop. Place the blueprint at the new location and rebuild it there.
There are two crucial checks before you remove anything. First, transfer every resident animal to another coop or to Hayden’s Shop daycare. Second, do not try to move a pregnant animal; pregnant animals cannot be moved. These rules mean relocation is not an instant drag-and-drop tool for a busy animal yard.
Plan the new site completely before opening the removal menu. Mark the route from the farmhouse, allow a clear entrance, decide where the enclosure and paths will go, and make sure another coop or daycare can receive every resident. Only then remove the old building. This avoids a farm day spent resolving animal housing instead of playing normally.
A practical coop placement plan
The most useful animal area is organized around a short loop, not around maximum decoration. Start with the coop facing a path that leads back toward the farmhouse. Keep a nearby chest or supply point for the items you use around ranching, then reserve a broad outdoor section for the animals rather than filling every edge with obstacles.
Leave an expansion buffer on at least one side. Even if you begin with a Small Coop, that buffer gives you choices later: rebuild a larger coop nearby, widen the enclosure, or add a path without deleting a finished-looking corner. Use fences and decorations only after you know the capacity tier you are aiming for.
If you run more than one coop, avoid placing all entrances on distant edges of the farm. Put them along one connected path so a ranching check becomes a single pass. Separate yards can still have different visual themes—red and white coop blueprints help with that—but their daily route should stay simple.
Quick answers
Which animals can live in a coop? Chickens, ducks, rabbits, and capybaras can all live in Small, Medium, or Large Coops.
How many animals fit in each size? Small holds 4, Medium holds 8, and Large holds 12.
How many incubators does each size have? Small has 1, Medium has 2, and Large has 4. Incubators are for hatchable eggs from poultry breeding.
Can I move a coop? Yes. Remove it through the building menu, then place its returned blueprint and rebuild with the returned construction materials. Move all resident animals first; pregnant animals cannot be moved.
What unlocks the bigger coops? Medium requires Ranching level 20 and Large requires Ranching level 40. Their blueprints are still bought from The Carpenter.
Related guides
Build a cleaner daily route with the Fields of Mistria crafting table guide, make room for home storage with Fields of Mistria house upgrades, or return to the Fields of Mistria farm layout overview.